
Appearance
Video Optimisation
Pro
Video Optimisation is an Orbit Pro feature.
Orbit can optimise a video into Apple ProRes media for smooth, frame-accurate scrubbing — this is what lets you scrub a long camera clip against your ADM or IAMF audio without stutter.
New in 1.6.0 (beta)
- Optimised media is ProRes only — ProRes 422 Proxy, ProRes 422 LT or ProRes 422. The HEVC render tier from 1.6.0 beta 3 is gone; a setting that still says HEVC reads as Proxy.
- Optimising is something you ask for. Clips play from their originals straight away, and nothing transcodes in the background unless you turn on Create optimised media when importing — see Optimising in the 1.6.0 beta.
- Optimising no longer fights playback. Transcodes pause while the transport plays and resume the moment you stop.
Why ProRes?
ProRes is Apple's professional editing codec, and it's ideal for QC playback on macOS:
- Every frame is a keyframe. ProRes is an all-intra codec — each frame is stored complete, so Orbit can jump to any frame instantly. Delivery codecs like H.264 / HEVC use long groups of inter-frames that must be decoded in sequence: fine for linear playback, slow for scrubbing.
- Hardware-accelerated on Apple Silicon. ProRes encode and decode run on Apple Silicon's dedicated media engine (via Apple's VideoToolbox), keeping the work off the CPU and GPU so the rest of your QC session stays responsive.
- Real-time, predictable playback. Decode cost is consistent frame-to-frame, so timeline performance doesn't spike on complex footage — exactly what you want when scrubbing back and forth during QC.
Optimising in the 1.6.0 beta
In the 1.6.0 beta, clips play from their originals as soon as they're imported, and the viewer draws them at its own size on screen (see Viewer quality). Create optimised media when you want it:
- Optimise in the viewer's toolbar creates optimised media for the clips on the timeline.
- Right-click a clip in the bin and choose Create Optimised Media (or Re-optimise if it already has some).
- Or turn on Preferences → Video → Optimised Media → Create optimised media when importing to have every imported clip optimised automatically. It's off by default.
Optimised media is all-intra ProRes at the clip's own resolution, so every frame is a keyframe and scrubbing long-GOP camera files is instant. Choose the tier in Preferences → Video → Optimised Media: higher tiers look sharper and use more disk.
While the transport plays, optimising pauses and resumes the moment you stop, so it never starves the live picture.
Automatic optimisation on import (Orbit 1.5)
Orbit 1.5
This section describes Orbit 1.5. In the 1.6.0 beta, optimising on import is off unless you turn it on — see above.
Proxies are created automatically on import whenever the source video will benefit from optimisation. Each clip is ready to scrub as soon as its own optimisation completes.
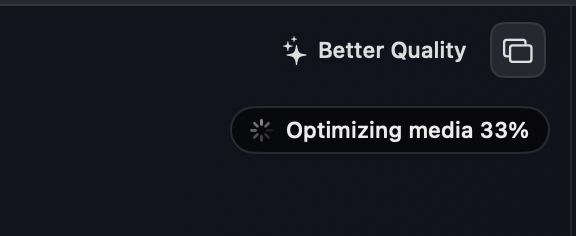
While optimisation runs, an Optimizing media indicator appears at the top of the Video View. It shows overall progress as a running total across everything currently being optimised — whether clips in the bin or footage on the timeline.
Timeline rendering (Orbit 1.5)
Orbit 1.5
Timeline rendering and the Background Render preferences are part of Orbit 1.5. The 1.6.0 beta's Preferences → Video has no Background Render section, and its Storage panel lists optimised media only.
Optimising the source clips isn't the whole story. Whenever an edit changes what a frame should actually look like — anything that departs from the original clip, such as fades, keyframing, text, graphics, or transforms — that part of the timeline needs to be rendered.
Orbit renders the composited timeline in chunks and saves them to the session. Once a region is rendered, scrubbing through it is instant.
To keep editing responsive, Orbit waits for a small gap in timeline activity before it renders, so rendering never competes with what you're doing.
You'll know a region still needs rendering by a green line between the video lane and the audio lane — it clears as each chunk finishes baking.
Timeline rendering is controlled by the Background Render settings in Preferences → Video below — including the render codec and a disk budget. Render files are derived data and safe to delete; Orbit re-bakes them when you return to that part of the timeline.
Choosing the optimisation level
The optimisation level is set in Preferences → Video.
In the 1.6.0 beta, the panel has four sections:
- Viewer Quality — Better Quality or Better Performance, for how sharply the viewer draws. See Viewer quality.
- Optimised Media — the ProRes tier (ProRes 422 Proxy, ProRes 422 LT or ProRes 422) and Create optimised media when importing.
- Colour — the Working Space clips are composited in. See Colour.
- Storage — how much disk optimised media is using. It lives in the current session bundle and persists with the session.
In Orbit 1.5, the panel looks like this:
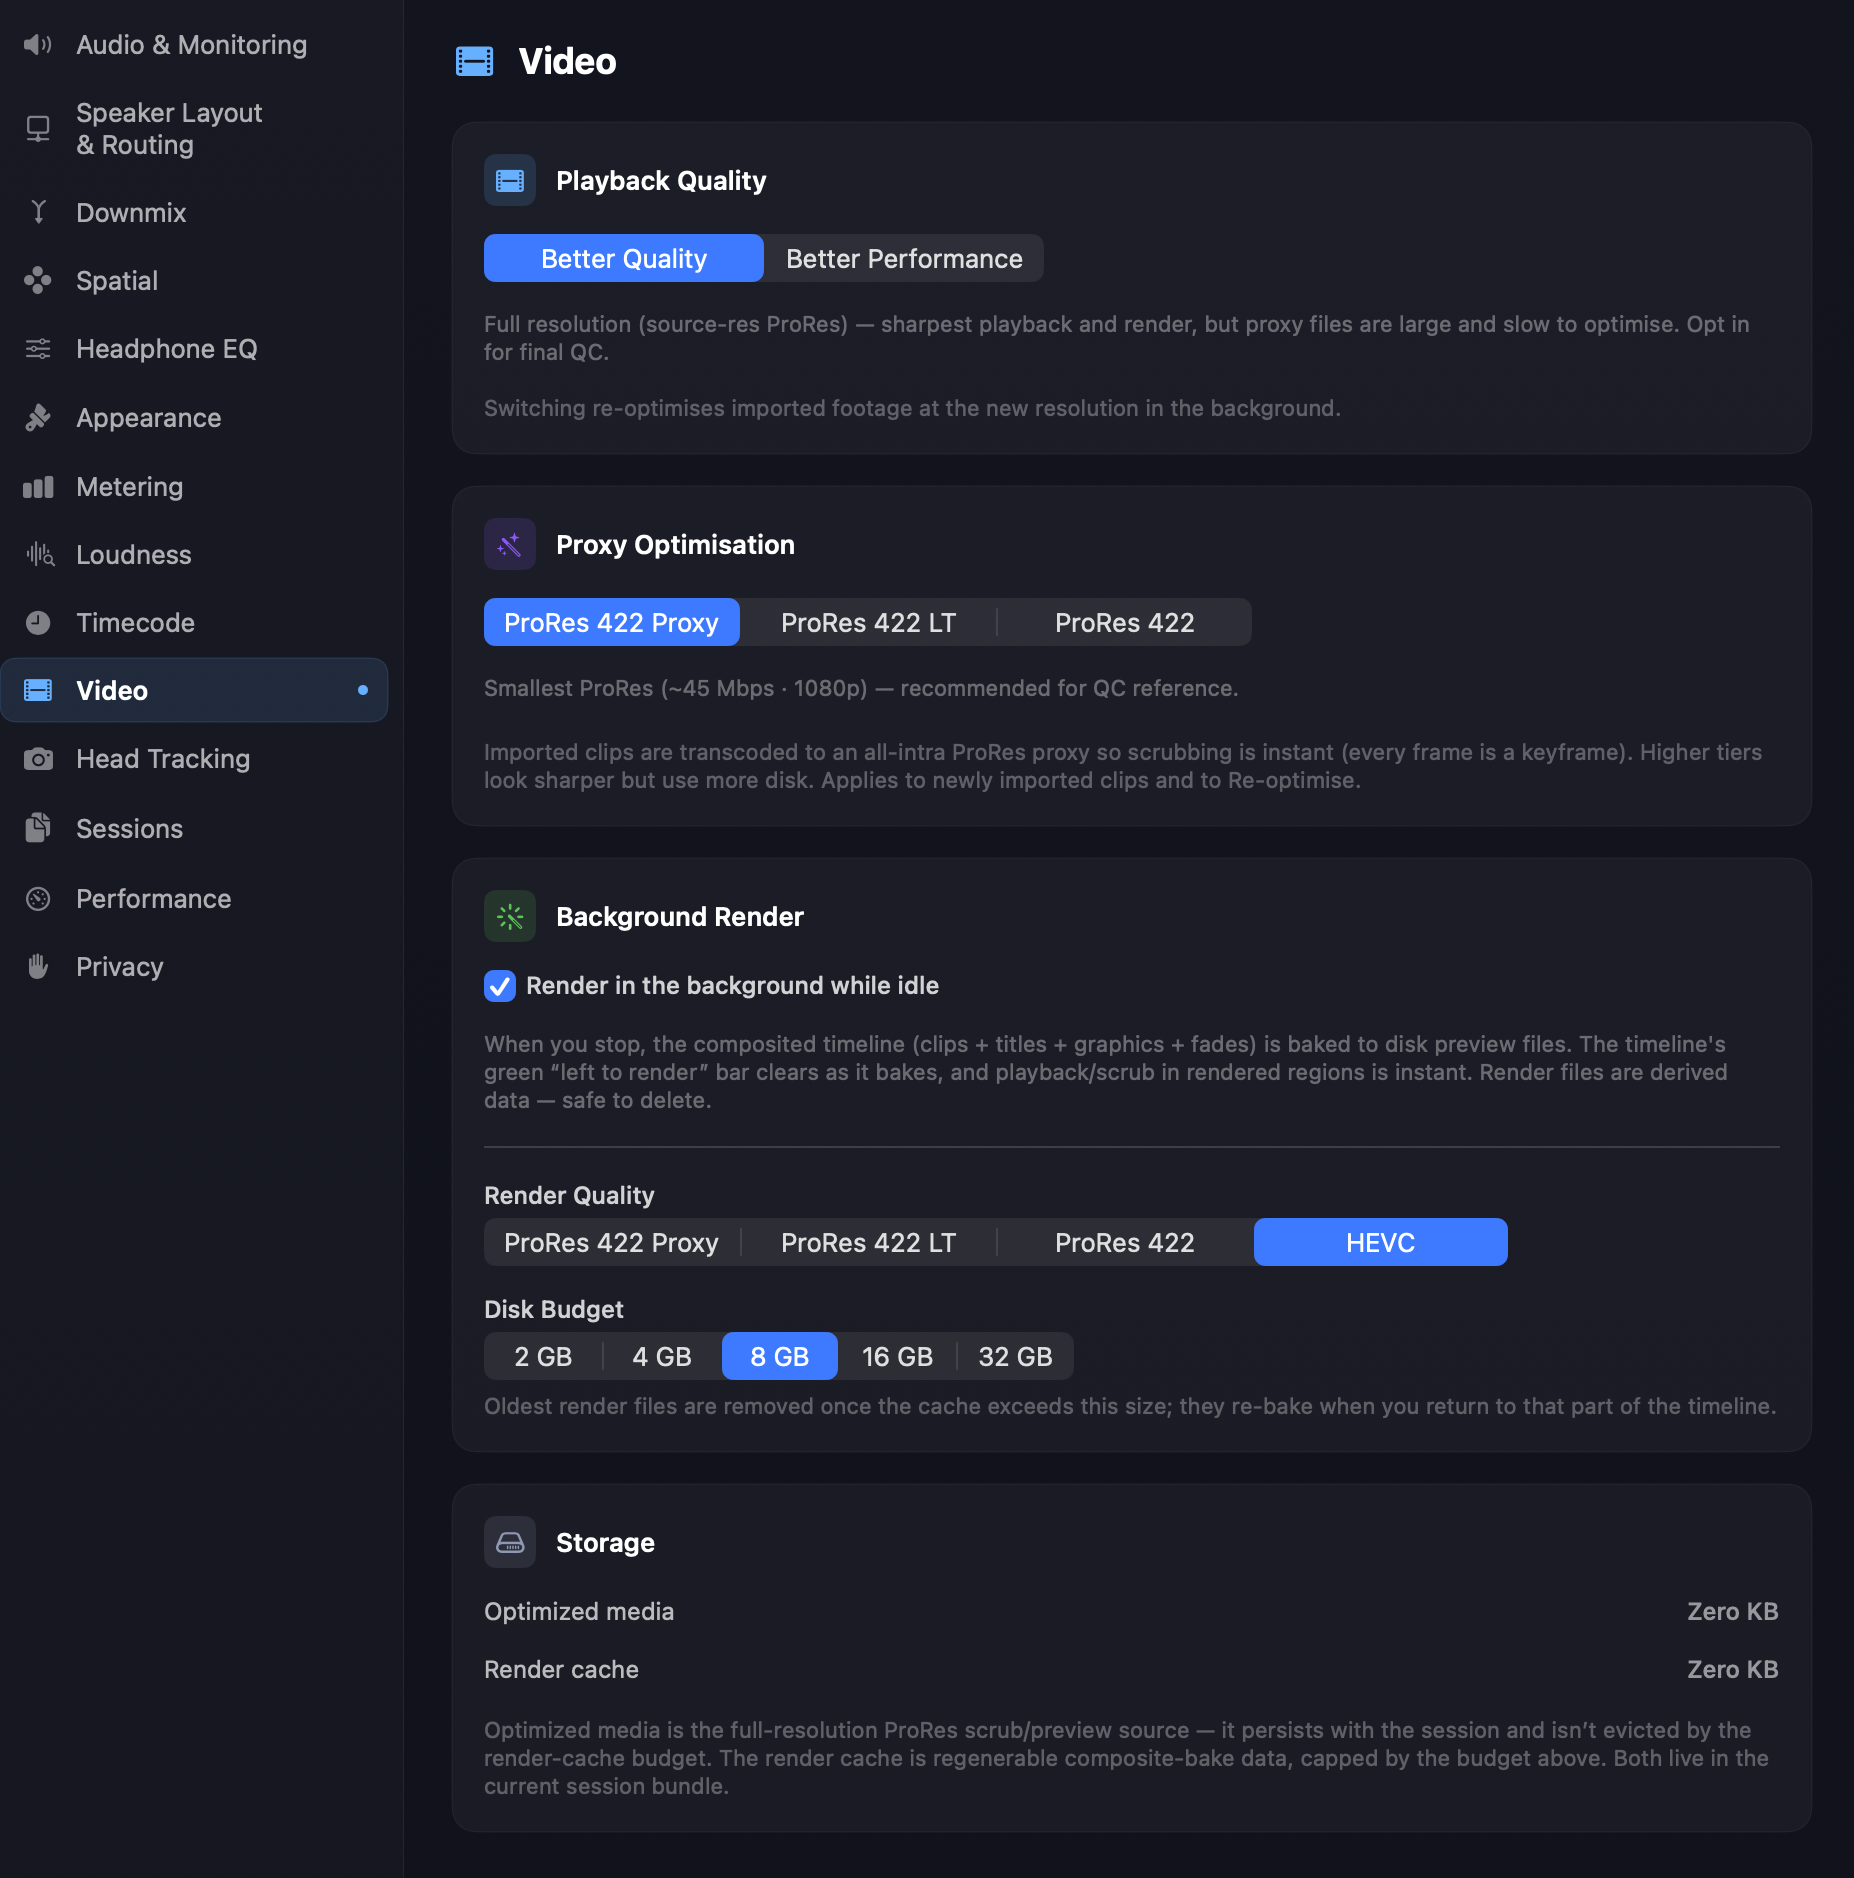
- Playback Quality — Better Quality uses full-resolution (source-res) ProRes for the sharpest playback and render, at the cost of larger proxies that are slower to optimise (opt in for final QC). Better Performance uses a lighter proxy for faster, lower-disk playback. Switching re-optimises imported footage at the new resolution in the background.
- Proxy Optimisation — the ProRes tier used for the proxy: ProRes 422 Proxy (smallest, ~45 Mbps at 1080p — recommended for QC reference), ProRes 422 LT, or ProRes 422 (sharper, more disk). Applies to newly imported clips and to Re-optimise.
- Background Render — optionally bakes the composited timeline (clips + titles + graphics + fades) to disk while idle, so scrubbing rendered regions is instant. Pick the render codec and a disk budget; render files are derived data and safe to delete.
- Storage — shows how much disk the optimised media and render cache are using. Optimised media persists with the session; the render cache is regenerable and capped by the budget above. Both live in the current session bundle.
Storage and disk budget
INFO
The timeline render chunks and the disk budget below are Orbit 1.5. In the 1.6.0 beta there are no render chunks — the only optimised video in the session bundle is optimised media.
All of Orbit's optimised video — the ProRes clip proxies and the timeline render chunks — is kept inside the session's .orbsession bundle, so a project stays self-contained and portable. The Storage panel in Preferences → Video shows how much space each is using.
How much you need scales with the project:
- Short pieces — music videos and short-form content use very little storage, especially at the ProRes 422 Proxy tier.
- Large projects and feature films — raise the disk budget towards the maximum so more of the timeline stays rendered for instant scrubbing.
Because everything lives in the session bundle, if you need more room you can run the session directly from a portable SSD or a high-performance network drive.
Re-optimising a clip
To re-run optimisation on a clip — for example after changing the proxy tier — right-click the Video Clip in the bin and choose Re-optimise. A progress indicator shows the optimisation running. It uses the same hardware-accelerated pipeline, so there's minimal impact on CPU and GPU.
See Video Importing & File Support for importing clips and the full right-click menu.